How to Mat a Print for fStops Presentation
Goal: To produce an easily made and reusable mat frame for presentation.
Decide what size image you want to present at the fStops meetings. I have chosen to print 18 x 12 and 12 x 12 inch images for the club. The 6X4 ratio and the square give me the look I enjoy and materials to support this size are available.
Materials for an 18 x 12 inch image
Materials for an 12 x 12 inch image
Decide what size image you want to present at the fStops meetings. I have chosen to print 18 x 12 and 12 x 12 inch images for the club. The 6X4 ratio and the square give me the look I enjoy and materials to support this size are available.
Materials for an 18 x 12 inch image
- 18 x 24 acid free white core Picture mat cut for 12 x 18 pictures in white. $30 for a pack of 5 via Amazon. https://www.amazon.com/18x24-White-Picture-12x18-Pictures/dp/ B07NC64CMT
- 18 x 24 acid free picture backing mat boards. $55 for a pack of 10 from Amazon. To save money, you may want to use a piece of cardboard. https://smile.amazon.com/dp/ B07Z8HXJ11?ref=ppx_yo2ov_dt_b_product_details&th=1
- Gaffer’s Tape (or masking tape) $20 per roll from Amazon. https://smile.amazon.com/s? k=gaffers+tape&ref=nb_sb_ss_ts-doa-p_1_4
Materials for an 12 x 12 inch image
- 16 x 16 acid free white core Picture mat cut for 12 x 12 pictures in white. $20 for a pack of 4 via Amazon. https://smile.amazon.com/dp/B07LGDXVV5? psc=1&ref=ppx_yo2ov_dt_b_product_details
- 18 x 24 acid free picture backing mat boards. $50 for a pack of 10 from Amazon.n. To save money, you may want to use a piece of cardboard. https://smile.amazon.com/dp/ B09P9XHPSK?ref=ppx_yo2ov_dt_b_product_details&th=1
- Gaffer’s Tape (or masking tape) $20 per roll from Amazon. https://smile.amazon.com/s? k=gaffers+tape&ref=nb_sb_ss_ts-doa-p_1_4
- Scissors
- Paper cutter
- What to do.
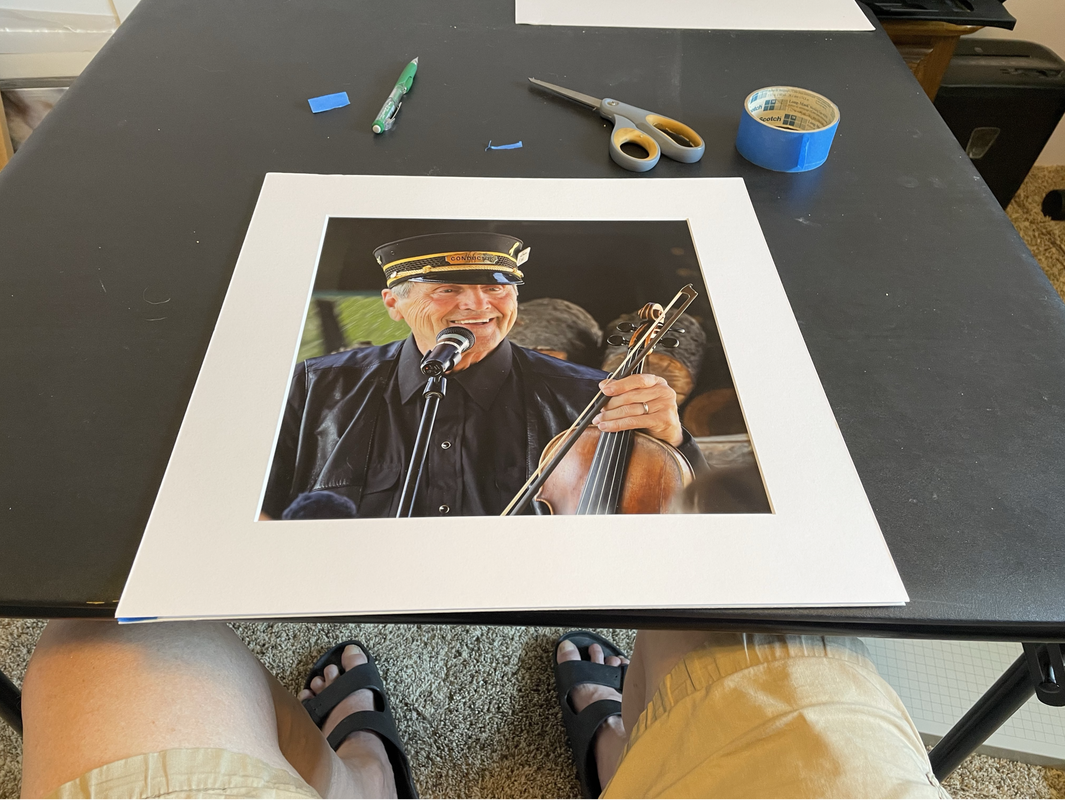
1. If necessary, cut the picture backing to the size of the mat. I used a paper cutter.

2. Lay the mat next to the backing with the bevel side of the mat facing down.
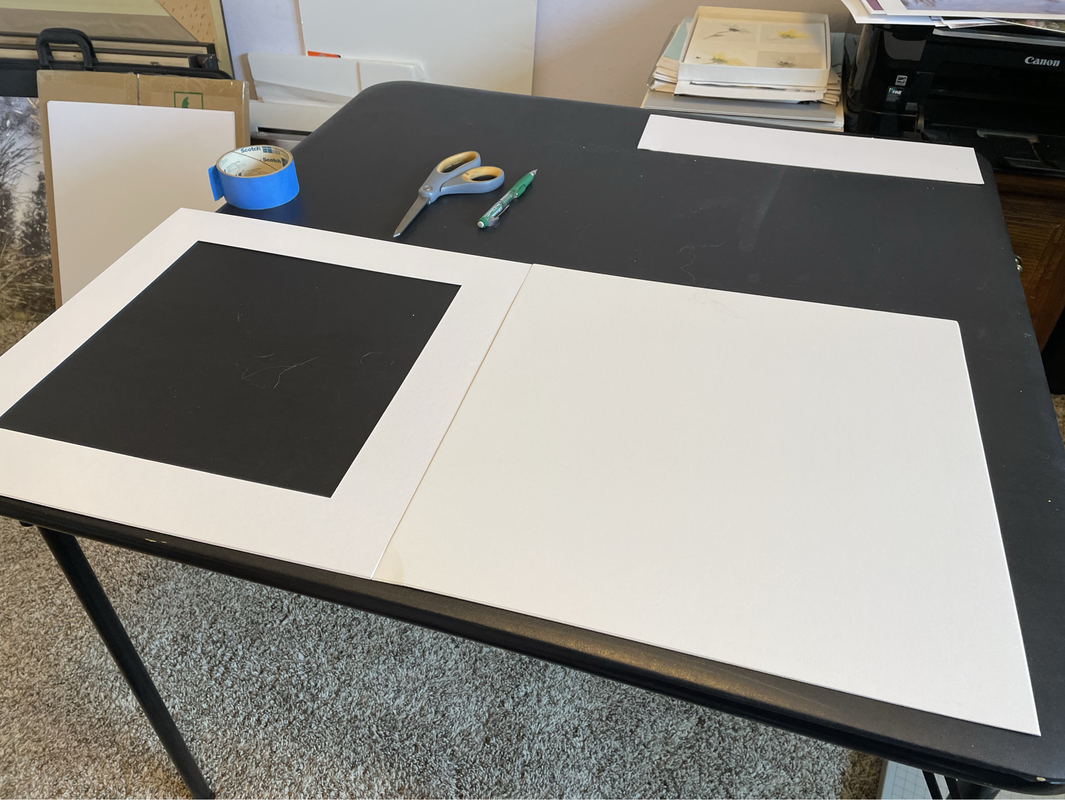
3. Use the tape to attach the two pieces together trimming the tape to just inside the edge (you don’t want it to show when the picture is “framed”.
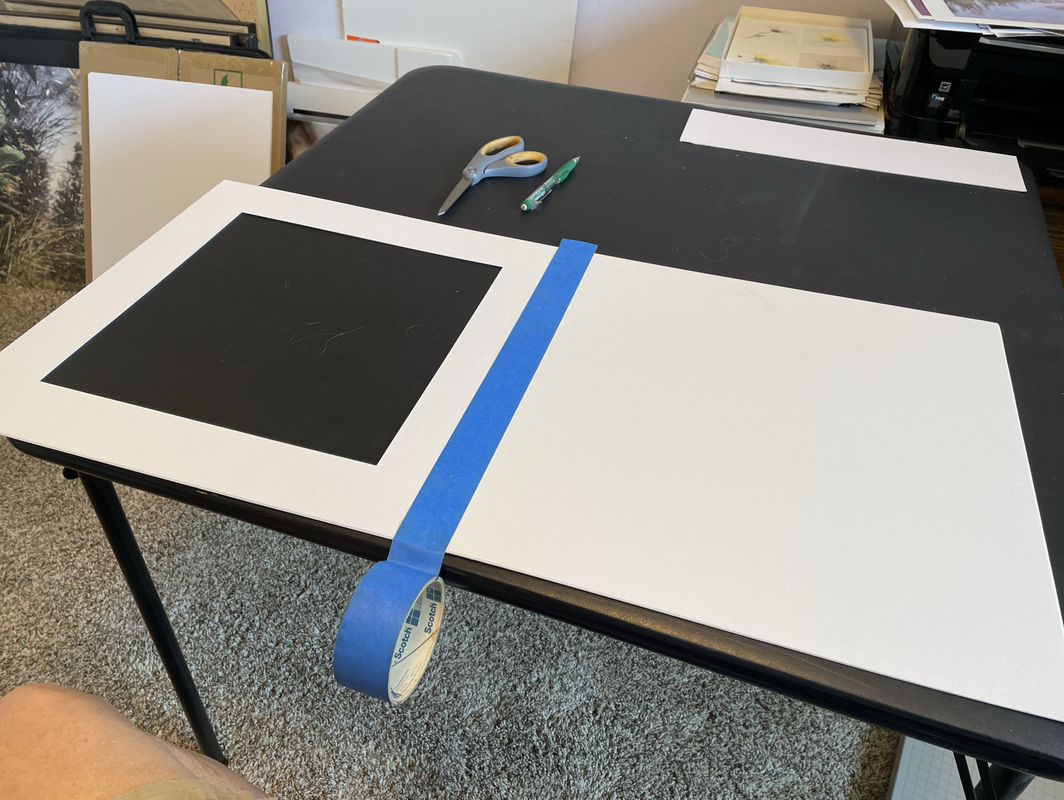
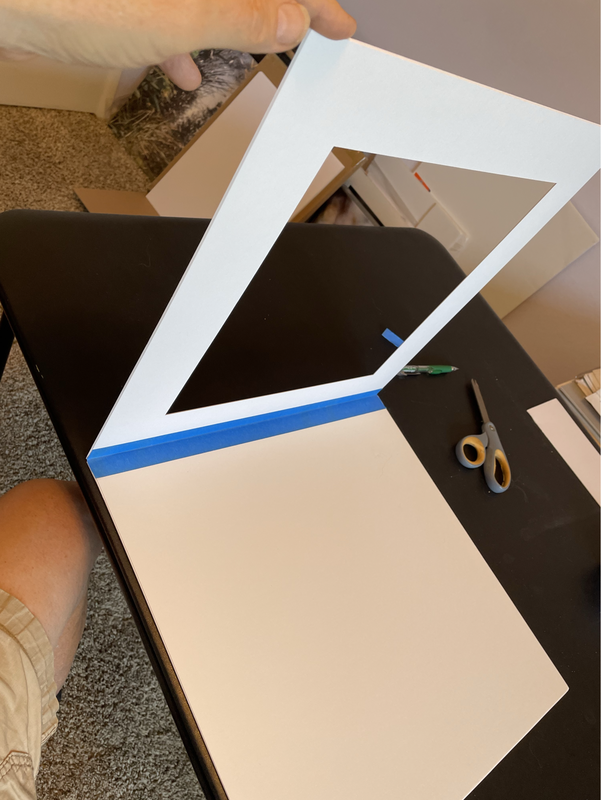
4. Fold the mat toward the backing to be sure it works properly.
5. Open the mat up again and place your picture on the backing. Close the mat over the picture and then move the picture to where it belongs on the backing. Then open the mat again while keeping the picture in place. Tape the four corners of the picture to the backing.
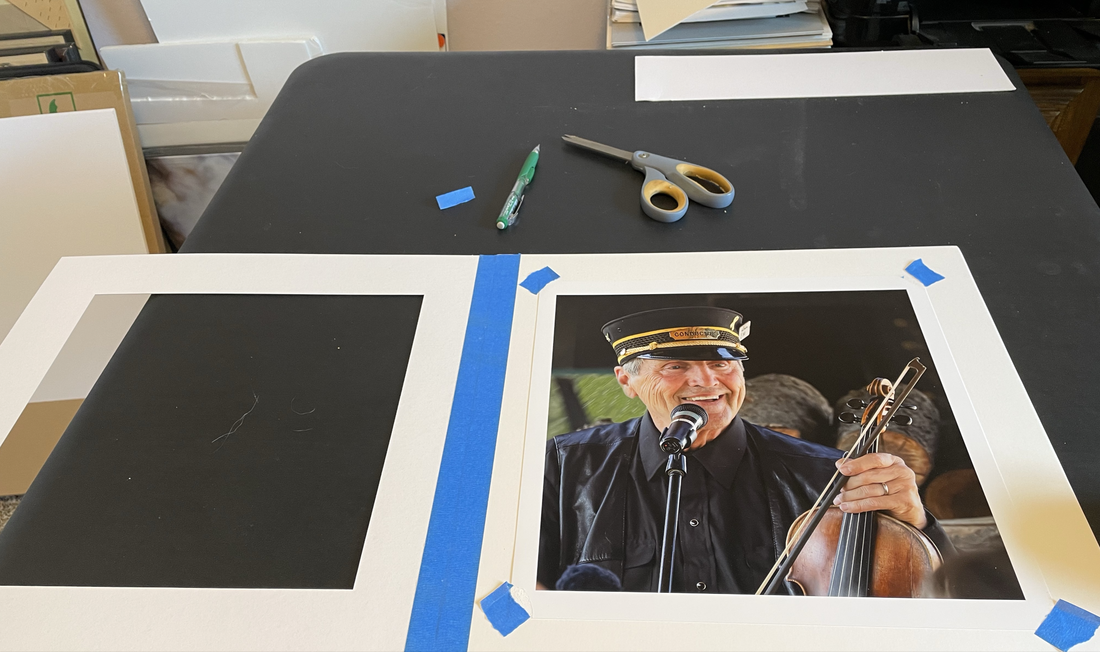
6. Fold the mat over and make sure that the image is where you want it to be.
7. When you are ready to remove the picture, open the mat and gently pull off the tape. You can then reuse this mat for another meeting.
| print_matting.pdf |